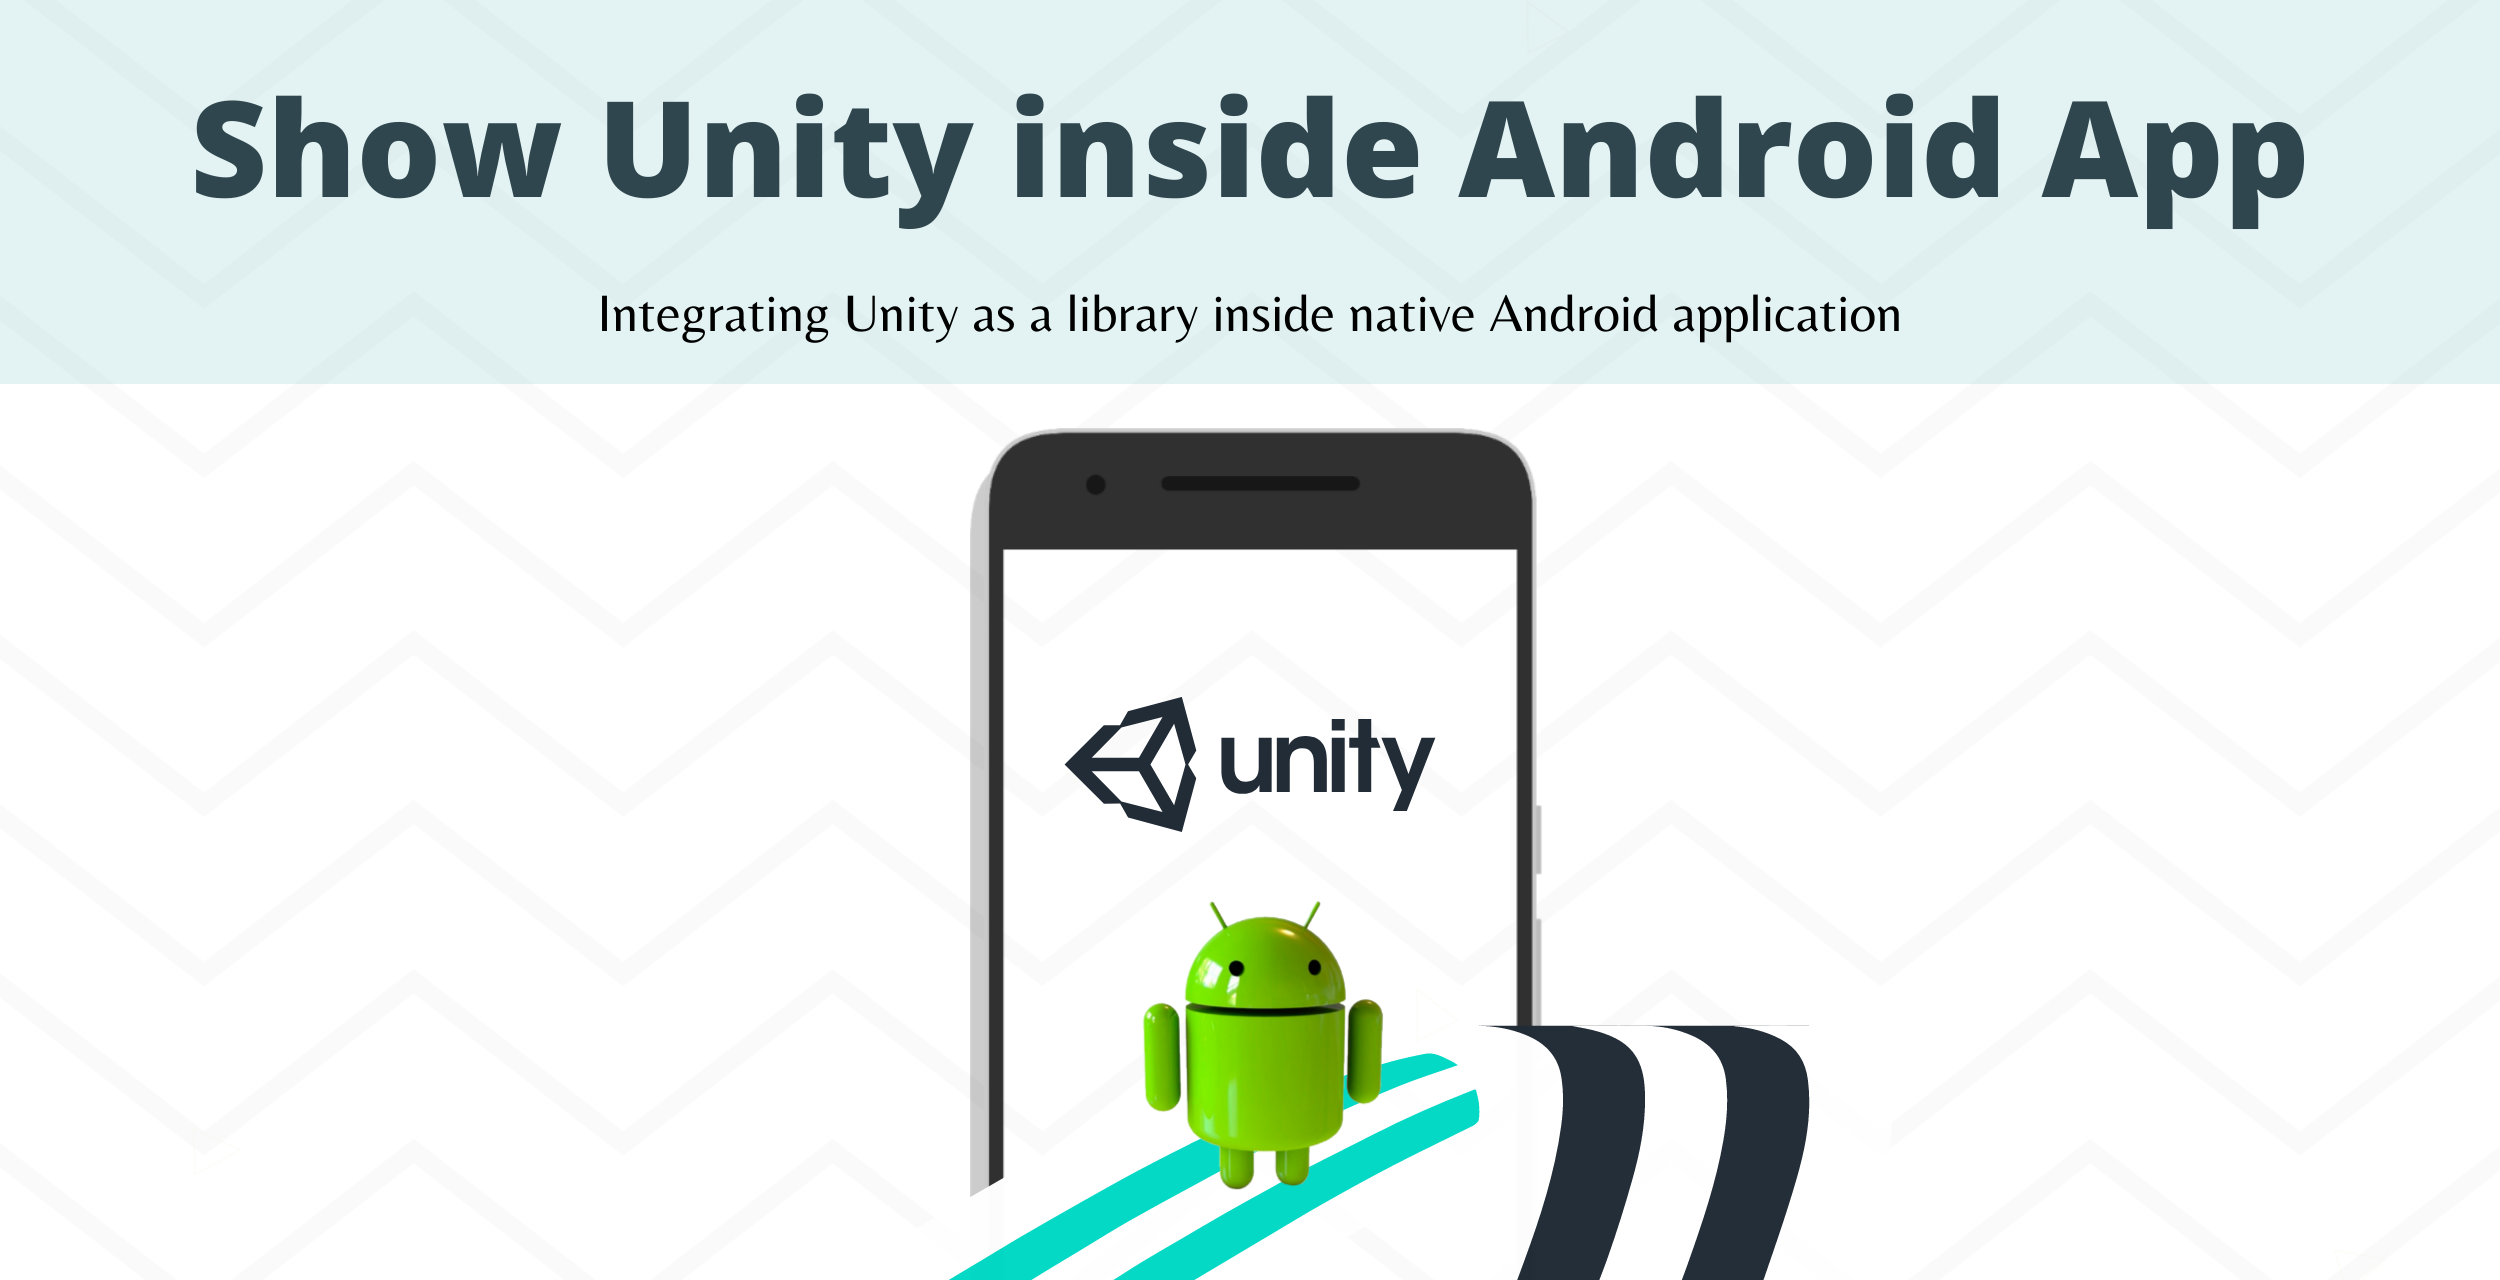
Integrating Unity as a library inside native Android application
Intro
In this blog we will integrate Unity project as an library inside native android project. Lets dive deep into it.
To implement Unity features inside native apps we need to change Unity Project as a library, and then integrate inside our native application.
From version 2019.3.a2 Unity introduced a new feature Unity as a library in native apps both Android and Ios.
Export Unity Project as an Library (Android)
Hope you already have an unity project, then follow the below steps.
Goto Build settings in Unity Editor, Switch Platform to Android.
Just check the option “Export Project”.
Then click Export.

note: Don’t change Scripting Background to IL2CPP and Target architectures ARM64. only check the option “Export project”
Now Unity project has exported successfully in desired path.
Previously, the exported Unity project will have only one gradle module and one manifest file.
But now the Structure has been changed to two gradle modules.
1. launcher
2.unityLibrary

Both launcher and unityLibrary module will have its own build.gradle and manifest files.
unityLibrary – module will have Unity runtime and project data, it can be easily integrated into any other gradle project. It will help to integrate Unity inside our native android project.
launcher – module will have all icons and the application name.
But we want to use only unityLibrary module as a library inside our native android project.
Add Unity Library Module inside Native Android Project
Now we are going to add unityLibrary module inside our native project, follow the below steps.
Open new/existing native android project in Android studio.
In Android studio Goto settings.gradle file, add the following code;
include ':unityLibrary'
project(':unityLibrary').projectDir = new File('/Users/admin/Documents/UnityProject/unityLibrary')
Now copy the unityLibrary folder path, which we exported from Unity and replace it inside File(‘<unityLibrary path>’)
2. Now Open build.gradle(Module:app)
Add the following line inside dependencies{ }
dependencies { implementation project(':unityLibrary') implementation fileTree(dir: project(':unityLibrary').getProjectDir().toString() + ('\\libs'), include: ['*.jar'])}
Add the following line inside defaultConfig{ }
defaultConfig { ndk{ abiFilters 'armeabi-v7a','x86' }}
3. Now Open build.gradle(Project: NativeAndroid)
Add the following inside allprojects -> repositories
allprojects { repositories { flatDir { dirs "${project(':unityLibrary').projectDir}/libs" } }}
4. Click Sync Now, gradle files have been synced.
note: If below error occurs,
Error: Could not get unknown property ‘unityStreamingAssets’ for object of type com.android.build.gradle.internal.dsl.AaptOptions.
Add this line inside gradle.properties
unityStreamingAssets=.unity3d, google-services-desktop.json, google-services.json, GoogleService-Info.plist
Then try again to sync the gradle.
Now unityLibrary has been successfully added inside your android project.

Show Unity View inside Android Activity
Now unity Library is added, we can access all the unity files inside our android project. To show unity view inside android activity follow below steps accordingly.
Create Two Activities MainActivity and UnityActivity
Create a Button in MainActivity on clicking this button navigate to UnityActivity.

3. In UnityActivity inside oncreate() method, add below code to open UnityPlayerActivity (which shows unity screen).

When UnityPlayerActivity is called it launches unityPlayer, where unity screen will be shown inside android activity..
important note: Don’t forgot to add this line inside strings.xml folder in app folder
<string name="game_view_content_description">Game View</string>
3. Now run the app in your Device, Unity view will be loaded inside your UnityActivity successfully.
Wrapping Up
In this blog we have learned about how to implement unity features inside native android applications and also handled possible issues.Hope this blog is helpful.